Have you ever wanted to make your own custom embroidered patches? Maybe for your company, a small business, or just a cool design for your friends? The good news is that it’s easier than you think. With a little patience, creativity, and the right tools—like fabric, thread, needles, and stabiliser—you can create something awesome. In this guide, we’ll walk you through the steps to make your own custom embroidered patches. Let’s get started!
What Are Custom Embroidered Patches?
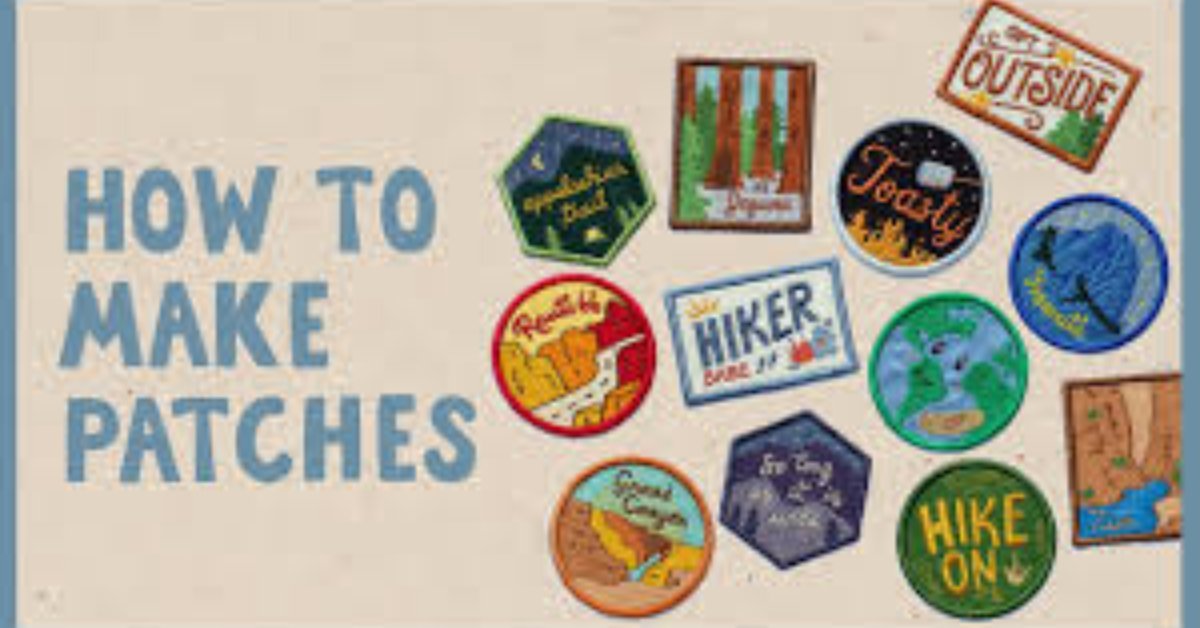
First off, what are custom embroidered patches? These patches are pieces of fabric with designs stitched onto them, used to decorate clothes or accessories. You’ve probably seen them on jackets, backpacks, hats, or shirts. Patches are a fun way to show off something unique about yourself—a hobby, an organisation, or just a cool design you like.
Embroidered patches can be sewn onto fabric, ironed on, or even attached with Velcro. Sew-on patches are great for a permanent hold, iron-on patches are easy to attach quickly, and Velcro is perfect if you want to switch out or remove the patch often. When you make them yourself, you have total creative freedom—from the colours to the size to the design itself.
Designing Your Patch
The first step in making custom embroidered patches is coming up with the design. Think about what you want the patch to represent. Is it a logo? A fun shape? Something symbolic? Here are some tips:
- Keep It Simple: The best patches are usually the simple ones. Embroidery has limits—you can’t get super detailed like with printed designs. Keep it bold and straightforward.
- Colour Choice: Pick colours that look good together. For example, blue and yellow make a nice contrast, or you could use black and white for a bold look. Remember, thread will overlap, so keep it clean. High contrast can really make your patch stand out—a dark outline with a bright colour inside works well.
- Size and Shape: Patches can be any shape or size, but keep in mind what it will go on. A patch for a hat should be smaller than one for a jacket.
You can create your design using free tools like Canva or Inkscape, or even by sketching it by hand. If drawing isn’t your thing, don’t worry—many embroidery machines can work with simple sketches.
Choose Your Fabric and Backing
After you’ve got your design, pick the fabric for your patch. This is where it gets fun. Here are some options:
- Twills: This is the most common fabric for patches. It’s strong and holds embroidery well.
- Felts: For a softer, vintage look, felt is a great choice.
- Denim: If you want a rugged look, denim works well, especially for jeans or denim jackets.
Then, choose your backing:
- Iron-On Backing: Easy to attach with just an iron. This is best for quick attachment and works well for items that won’t be washed too often.
- Sew-On Backing: Good for a more permanent attachment. This type is ideal for patches that will go on clothes that are frequently washed, as it provides a stronger hold.
- Velcro: Great if you want your patch to be removable, like for uniforms or gear that changes frequently. Velcro makes it easy to swap out patches without sewing.
- Sew-On Backing: Good for a more permanent attachment.
- Velcro: Great if you want your patch to be removable, like for uniforms.
Gather Your Supplies
You can’t make custom embroidered patches without the right supplies. Here’s what you’ll need:
- Fabric for the patch base
- Embroidery thread in your chosen colours
- Embroidery hoop to hold your fabric in place
- Embroidery needles or an embroidery machine
- Stabiliser to keep the fabric steady
- Backing material (iron-on, sew-on, Velcro)
- Scissors
If you’re serious about this, an embroidery machine will make things faster and more precise. But if you want that handmade touch, hand-embroidering can be really rewarding.
Setting Up Your Embroidery
Now that you’ve got your supplies, it’s time to start. If you’re using an embroidery machine, set it up as instructed and make sure your design is ready. If you’re doing it by hand, put the fabric in an embroidery hoop to keep it tight.
A few tips:
- Stabilise Your Fabric: Use an embroidery stabiliser to keep the fabric from moving. If it shifts, your design will end up looking messy.
- Use the Right Needle: Make sure your needle is the right size for your fabric and thread.
- Start with the Outline: Begin with the outlines. This will help keep your patch structured and make it easier to fill in the rest.
Embroider Your Design
Now comes the fun part—embroidering your patch! This takes patience, but it’s the most rewarding step. Here are some tips:
- Work in Layers: Start with the outline and then fill in each colour one at a time.
- Use Different Stitches: Get creative! Use a satin stitch for solid areas and a backstitch for outlines.
- Take Breaks: Hand embroidery can be tough on your hands. Take short breaks to rest, ideally every 20-30 minutes, to avoid fatigue.
Mistakes happen, and that’s okay! If you mess up, carefully pull out the stitch and try again. A little imperfection gives your patch character.
Cut and Finish the Patch
When you’re done embroidering, trim your patch. Use sharp scissors to cut around the edges, leaving a small border if that’s the look you want. If you want a clean edge, use a hot knife or fabric sealer to keep it from fraying.
Then, add the backing—iron-on, sew-on, or Velcro. Just follow the instructions for whichever type you chose.
Attach Your Patch
Now it’s time to attach your patch to something! Put it on a jacket, hat, or backpack—wherever you like. If you chose iron-on backing, use an iron to press it on firmly. If it’s sew-on, grab a needle and thread and sew it on tightly.
This part is super satisfying. There’s nothing like seeing your creation come to life on something you use or wear!
Tips for Making Custom Embroidered Patches
- Practice Makes Perfect: Your first patch might not be perfect, and that’s okay. It takes time to learn, especially by hand.
- Start Small: Start with small designs before trying bigger ones. It’ll be easier and help build your confidence.
- Experiment with Colors: Have fun with different colours. The best part of custom patches is making them unique.
- Use Quality Thread: High-quality thread makes your patch look better and last longer. Cheap thread can fray and fade quickly.
Why Make Custom Embroidered Patches?
You might wonder why you should make custom embroidered patches when you can buy them. But making your own is personal, unique, and satisfying. You can create something that truly represents you or your group.
If you’re part of a club, team, or group, making patches can be a fun activity. It creates something everyone can wear and feel connected by. Plus, it’s just really cool to say, “I made that!”
Final Thoughts on Making Custom Embroidered Patches
Making custom embroidered patches isn’t just about creating a cool design—it’s also about the process. It takes creativity, patience, and a bit of trial and error. In the end, you’ll have something that’s truly yours, and that’s worth the effort.
Whether you’re making patches for fun, for a group, or even to sell, the steps are the same. Start with a simple design, gather your supplies, and take your time. Don’t worry if it’s not perfect—imperfections give it character! So grab your fabric, thread, and needle, and give it a try. You might just find a new favourite hobby.
If you have questions or want more tips, feel free to reach out to us at Abbey Badges. We’re here to help you on your creative journey!